Lightroom Cinematic Presets – I have been watching Instagram for the last few months. Many people are talking about cinematic photo editing. In which he is editing any normal photo into a completely cinematic look. Which looks so good that you don’t even ask anything, many people like to do cinematic photo editing through AI also because cinematic editing looks so good and attractive that it gets captured in everyone’s heart. Those who think of doing cinematic photo editing without any effort, they take the help of AI and those who click their photos manually and then think of doing cinematic photo editing. He uses the Lightroom app. Today we are going to tell you how to do cinematic photo editing manually. This is because in this new article, I am going to share with you some presets of Lightroom app for cinematic photo editing, with the help of which you can easily give a cinematic look to any type of photo. Because whenever it comes to cinematic photo editing, the first name that comes to mind is Lightroom app. In this we are sharing many different types of cinematic presets.
Complete Details Lightroom Cinematic Photo Presets
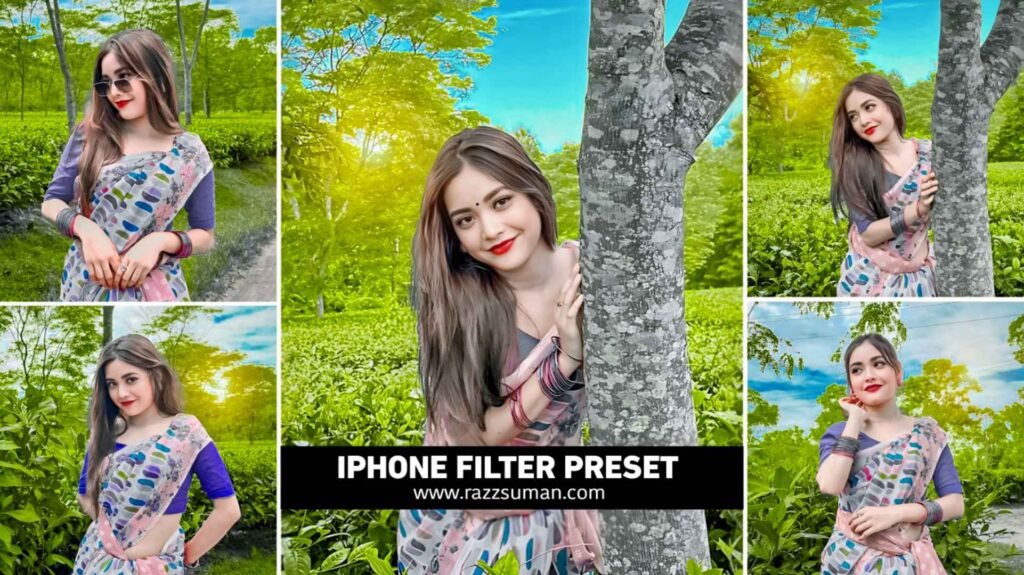
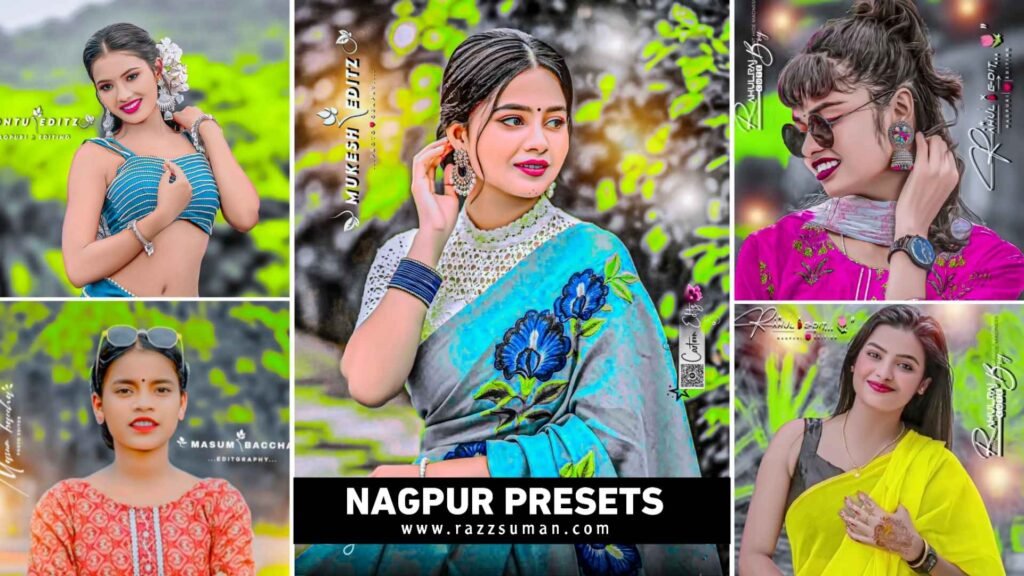
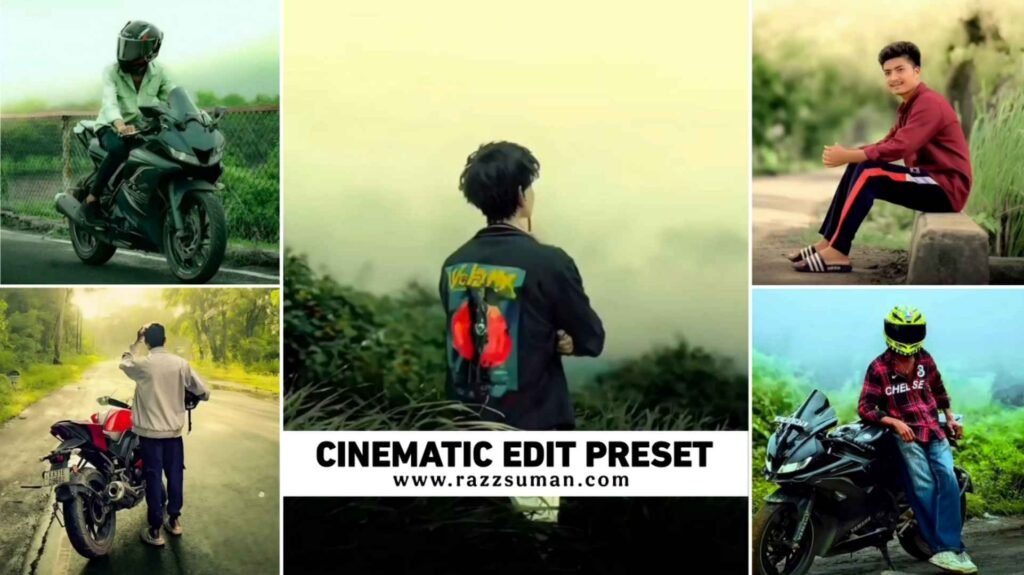
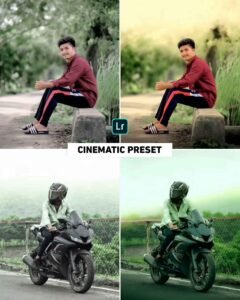
In cinematic photo editing, any photo is edited in such a way that it looks like a movie scene. In this, color, light and mood are edited in such a way that the photo looks dramatic, deep and professional. The biggest role in this type of editing is that of color grading because the better the color grading you do, the better your photo will look. Often in cinematic photo editing you will see that the light and shadow in the photo are deepened. Teal and orange colors are mostly used in this. In such editing, the background is blurred just a little so that our photo gets highlighted. We have even seen that some people add film grain or texture in this type of editing. So that their photo looks like a Hollywood movie frame. Vignette effect is also added so that all four edges of the photo become dark. Editing all this manually is very difficult for new people, but in the preset we have given, everything has already been adjusted. All you have to do is copy the settings of the preset and paste it on your photo. Edit your photo in one click.
How To Use Lightroom Cinematic Photo Edit Presets?
We have shared many different types of presets in it. To do Cinematic Photo Editing with the help of those presets, first save all the presets in your phone. Then click your good photo. Try to have the photo be outdoor so that the preset works well on the photo. This is because the preset we have created and given to you is only for outdoor photo editing. Some presets can also work on indoor photos but will work well on outdoor photos. Let us know what we should do after keeping the preset and our photo ready.
- Install the latest version of Lightroom.
- Now, open it and add your photo and preset.
- Click on the preset, then click on the three dots in the top right corner and select “Copy Settings.”
- Select all the tools currently visible such as Crop & Geometry, Remove, Masking, Light, Colour, etc.
- Now, click on your photo, and then click on thet hree dots on the right side again this time, select the ‘Paste’ setting.
- Paste the settings to edit your photo with cinematic colors instantly.
- Customize it to your liking using the provided editing tools.
- Save the photo by clicking the Share button at the very top.
Install Lightroom Cinematic Photo Editing Presets
It is very easy to save presets to your device. That’s all there is to it. Go to paragraph two. There we have shown an image. A red colored button will be found just below the results of the unedited photo and the before and after photo result of the edited photo. Click on the preset name. By clicking on it, Google Drive will open. Now you will get to see all the presets there, click on the preset you want to save and save the photo by clicking on the save button at the top. If you want, you can open all those presets in the gallery, select them together and send them inside Lightroom.
Last Word
Today’s article is going to be very special for those people who like photo editing with the help of Lightroom presets because we have shared some such presets of Lightroom app for cinematic photo editing. With this, you can easily give any type of photo a cinematic look in just one click. We have shared many types of cinematic presets in it. If a preset doesn’t work well for your photo. So you can get better results by using the second preset. Any problems occur while using or saving presets. Please let us know in the comment box.

I’ve Been editing photos and videos for over 5 years. Here, I share Lightroom Presets, Ai Photo Editing Prompts, Vn Templates, and easy editing tutorials so you can give your photos and videos a professional look. Welcome to the world of creative, high-quality editing